
Master the Art of winged eyeliner : A Step-by-Step Guide for Flawless Precision
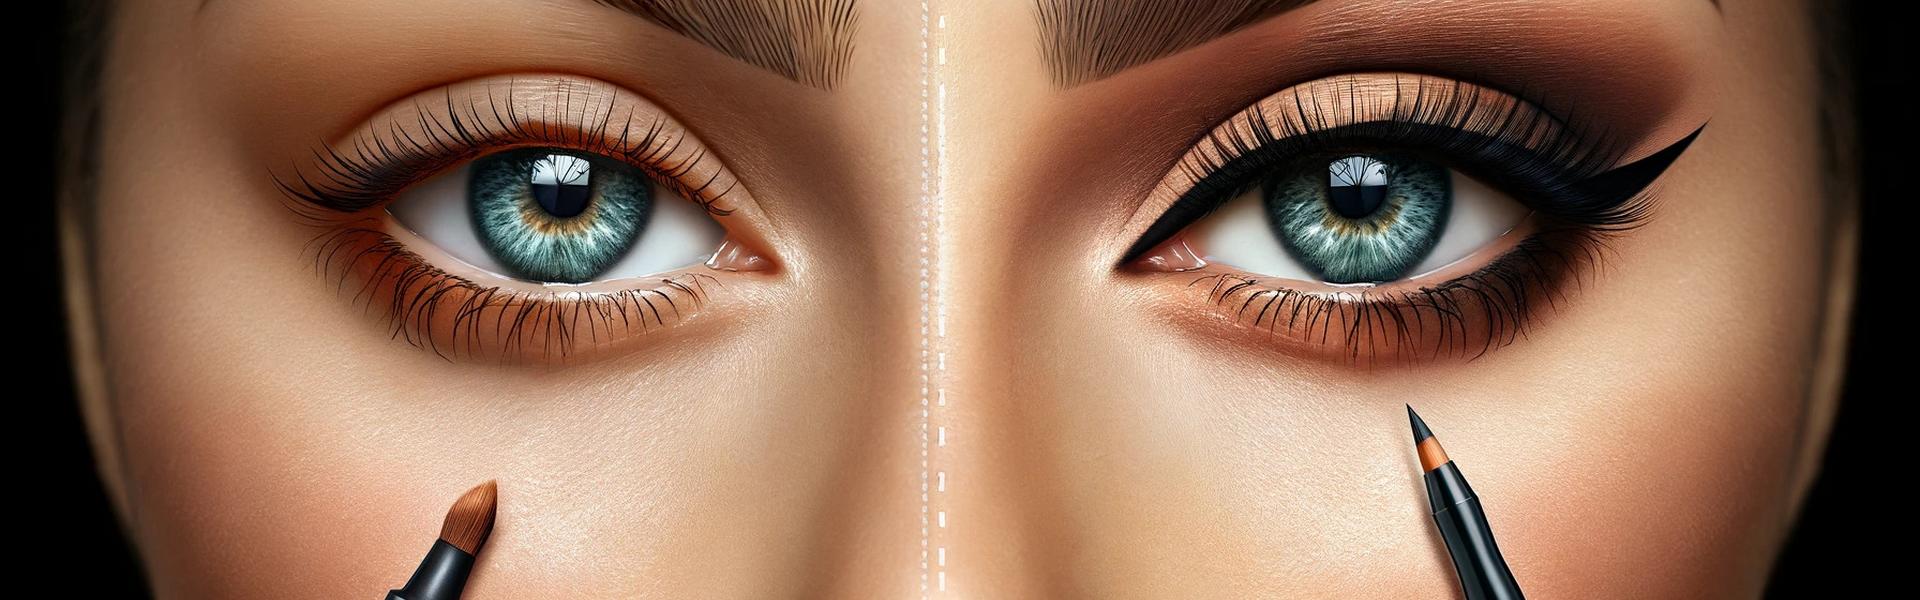
When it comes to makeup, winged eyeliner holds a special place in the hearts of beauty enthusiasts. This timeless technique can instantly elevate your look, adding sophistication and drama to any appearance. But as simple as it may seem, achieving the perfect wing requires patience, skill, and the right approach. If you’ve ever struggled to get symmetrical wings or found yourself wiping off your hard work, this guide is for you. Let’s break down the art of winged eyeliner step by step to help you master it with ease.#winged eyeliner
Why Winged Eyeliner?
Winged eyeliner has been a beauty staple for decades, gracing the eyes of iconic figures like Cleopatra, Audrey Hepburn, and modern celebrities. It’s versatile, flattering, and adaptable to different eye shapes and makeup styles. A first-rate wing can make your eyes look larger, enhance your lash line, and add a touch of elegance to your overall look. Plus, once you’ve mastered the technique, it’s a quick way to elevate your makeup routine.#winged eyeliner

Step-by-Step Guide to Achieving the Perfect Wing
1. Gather Your Tools
To create a flawless winged eyeliner, you need the right tools. Here’s what you’ll need:
- Eyeliner Type: Choose from liquid, gel, or pencil eyeliners depending on your comfort and skill level. Liquid eyeliners with felt-tip applicators are ideal for sharp, precise wings, while gel liners offer more control for beginners.
- Mirror: Use a well-lit, magnifying mirror to ensure accuracy.
- Cotton Swabs and Makeup Remover: These are lifesavers for cleaning up mistakes.
- Angle Brush (optional): Perfect for smudging gel liners or creating a softer winged effect.
2. Prepare Your Eyes
The key to a long-lasting and flawless wing is a smooth canvas:#winged eyeliner
- Cleanse and Prime: Begin by cleansing your eyelids to remove oil and residue. Apply an eyeshadow primer to prevent smudging and ensure your eyeliner stays in place all day.
- Set with Powder: Dust a translucent powder or neutral eyeshadow over your lids to create a smooth, matte base for your eyeliner.

3. Map Out Your Wing
Mapping your wing is essential, especially if you’re a beginner:
- Decide on the Angle: The angle of your wing should follow the natural line of your lower lash line, extending towards the tail of your brow. For a subtle look, keep the wing short; for a bold, dramatic effect, elongate it.
- Dot or Sketch: Lightly dot or sketch the outline of your wing before filling it in. This acts as a guide and reduces the risk of uneven lines.
4. Create the Outline
Follow these steps for a clean and precise outline:
- Start with the Flick: Begin by drawing the wing’s flick at the outer corner of your eye. Use short, light strokes to create a diagonal line.
- Connect to the Lash Line: Draw a line from the tip of the flick towards the center of your upper lash line. This should form a triangular shape.
- Line Your Lashes: Starting from the inner corner of your eye, line your upper lash line and connect it seamlessly to the wing outline.
5. Fill in the Wing
Using your eyeliner, fill in the triangle you’ve outlined. Ensure the color is opaque and smooth, with no gaps or streaks. For liquid eyeliner, wait a few seconds for it to dry to avoid smudging.#winged eyeliner
6. Perfect the Shape
Symmetry is crucial for a polished look:
- Check Both Eyes: Ensure both wings are symmetrical in length, angle, and thickness. Use a cotton swab dipped in makeup remover to adjust as needed.
- Thin vs. Thick Lines: Keep the line thin for a natural look or go bold with a thicker line for added drama.
7. Add the Finishing Touches
Complete your winged eyeliner look with these final steps:
- Mascara and Lashes: Curl your lashes and apply mascara to enhance your eyes. For a more dramatic effect, add false lashes.
- Eyeshadow: Pair your winged eyeliner with a neutral or smoky eyeshadow to complement the look.
- Highlight: Apply a touch of highlighter to the inner corners of your eyes and brow bone for an extra pop.
Common Mistakes and How to Avoid Them
Mistake 1: Uneven Wings
- Solution: Practice makes perfect. Use tape or a stencil for guidance if needed.#winged eyeliner
Mistake 2: Smudging
- Solution: Invest in a waterproof eyeliner and always prime your lids before application.
Mistake 3: Over-Thick Lines
- Solution: Start with a thin line and gradually build thickness as needed. It’s easier to add than to remove.
Mistake 4: Rushed Application
- Solution: Take your time and work in small, controlled strokes. Rushing often leads to mistakes.
Tips for Different Eye Shapes
- Hooded Eyes: Keep the wing’s flick visible when your eyes are open by angling it slightly upward.
- Round Eyes: Extend the wing outward to elongate your eyes.
- Almond Eyes: Most winged eyeliner styles suit almond eyes; experiment with different lengths and angles.
- Monolids: Opt for a thicker wing to create definition.
Practice Makes Perfect
Mastering the art of winged eyeliner takes time and patience, so don’t be discouraged if you don’t nail it on your first try. Practice regularly, experiment with different techniques, and find what works best for your eye shape and skill level. With persistence and the tips outlined in this guide, you’ll soon be creating flawless wings with confidence.#winged eyeliner